

What Nail Should I Use To Nail Tile Ceiling Up With Acoustical
Drop Ceiling Installation for Armstrong Ceilings
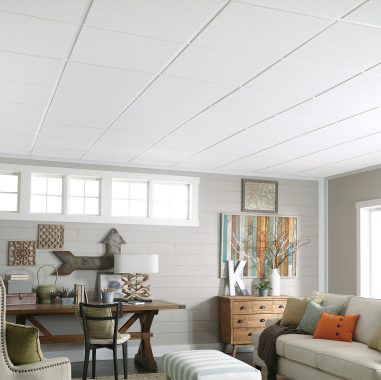
Learn how easy a driblet ceiling installation can be. Get instructions, watch videos, and see photos.
Topics
- Ceilings
- Drop Ceilings
- Estimating & Planning
- Installation
Model #: 273
SAHARA 24" ten 24"

How to Install a Driblet Ceiling
Learning to do a drib ceiling installation can be a rewarding experience and a coin-saving skill. Get set for your install with safety reminders, helpful hints, a list of tools needed, and detailed instructions.
Before Yous Begin: Preparation is Key
Read complete installation instructions before kickoff your installation. Instructions tin can be institute at the end of this overview.
Let your ceiling panels arrange to the environment in the room of installation.
Unpack all panels at least 24 hours prior to installation. Panels may be stored in areas with a temperature betwixt 60°and 80°F. Too, exist sure to check that the relative humidity is below seventy%. You lot may consider purchasing a dehumidifier with a humidity reader for this.
- Exercise not install loose fill or batt insulation so that it rests straight on the panels.
- Keep hands make clean to avoid smudges on the finished ceiling.
- Always cutting ceiling panels face upward with a sharp utility knife.
- Principal beams should be installed perpendicular to the joists.
- Grid should not exist installed tighter than three" to joists/construction with traditional hanger wire or two.five" to joists with QuickHang™ grid hooks. A minimum iv" drop is required when installing below drywall. This allows for access above the panels.
PDF Tips for Ceiling Installers [2.9M]
Know your ceiling and grid terms.
- Border Panel – ceiling panels cut to create a perimeter effectually the room
- Main Axle – load-bearing beams of a suspension system that are hung with hanger wires
- Cross-Tee – shorter steel beams that run perpendicular and parallel to chief beams to course the grid openings that back up the tiles.
- Wall Molding – attaches to the wall to support tiles and offers a consistent visual to the main beams and cross tees for a finished look
- Hanger Wire – 12-gauge wire used to suspend main beams from ceiling joists
- Fasteners – attach hanger wire to ceiling joists
- QuickHang hardware – Hanger wire alternative; a faster, easier manner to install and level a drop ceiling. Hardware includes hooks and brackets.
- On center – term used to depict the distance from the middle of ane main beam to the middle of the next
Marker subconscious joists.
For joists that are hidden behind drywall, you'll desire to apply this tip to mark where they are:
Knock on the drywall. You should hear a solid thud when you tap on a joist. You can also use a stud finder to help with this task.
Don't forget to determine the direction of the joists every bit well.Helpful hint: joists are usually 16" apart on eye.
Program the location of each ceiling panel for an even layout.
If your new drop ceiling installation will have edge panels, brand certain that the contrary sides of the room accept the same border width. Always cutting panels face up with a sharp utility knife.
Place all ceiling and grid materials in i location. Be certain to cheque out the drop ceiling figurer tool to help with the layout and a list of the materials needed for your project.
Gather Necessary Tools
You will need:
Installing 2' x iv' Drop Ceiling Panels
- Make up one's mind the size of the border panels – To get the length of your edge panels, divide the width of the room by the length of a unmarried panel, add together the rest to the length of a unmarried panel, and split by 2. To become the width of your border panels, separate the length of the room by the width of a unmarried panel, add the residuum to the width of a single panel, and dissever by 2.
- Install Wall Molding – Marker the desired new ceiling height on the wall. Snap the chalk line tool to create this guideline. Repeat on all walls. Be certain to brand sure all lines are level and match around the room. If you accept a laser level handy, y'all can utilize that for a quicker manner to mark where the molding will exist placed. Next, nail wall molding to studs. For concrete or stone walls utilize appropriate fasteners or substitute the wall molding by hanging a main beam runner from the joist closest to the wall.
- Install Hanger Wire or QuickHang grid hooks – – Mark the position of each main beam with a chalk line, which will run perpendicular to the ceiling joists. Main beams should be 4' apart on centre.
- For hanger wire: Screw in wire fasteners, and wrap hanger wire securely around itself 3 times. To locate where to curve hanger wire, suspend a leveling string between 2 nails. Each nail should be 7/viii" up from the lesser of the wall molding (Most Armstrong Ceilings wall molding is already vii/eight" high.) Curve each hanger wire xc degrees where the wire meets the string. Repeat for each section and remove strings when finished.
- For QuickHang grid hooks: adhere brackets to joists with fasteners and insert pre-aptitude hooks. Plough all hooks in the same direction, parallel to joists.
Install Fasteners and Hanger Wire
OR: Adhere QUICKHANG brackets to joists and insert hooks
4. Hang Main Beams – Cut the first chief beam to make sure there is a cantankerous tee hole where your pre-determined outset border cantankerous tee is to be located. The kickoff cross-tee hole in each row of main beams must line up. Ever put the cut end of the primary beam on the wall molding. To hang, merely slide each hanger wire or QuickHang claw through one of the small round holes in the main axle. Echo these steps for the second main beam.
Cross-tee slot at border panel distance
Master beams hung with hanger wire
Main beams hung with QUICKHANG hooks and brackets
v. Install the Cross Tees – You will need to measure out and cutting the border tees to the border panel size. Identify cut finish of tees on wall molding and connect the uncut finish to primary beam. Now insert the get-go ii uncut cross tees in line with the border cross tees. When connecting two cross tees in the same rectangular pigsty in a primary beam, insert the second tee into the slot by passing on the right side of the already installed tee.
6. Squaring the Filigree – To achieve the best end results, information technology's of import to brand sure your grid is square at this indicate. To cheque that your filigree is square, mensurate across the diagonals of the ii'x4' opening. The measurements volition exist the same if the grid is foursquare. If the measurements are not the same, trim one of the principal beams further until the diagonals are equal.
7. Finish Grid – Repeat steps #4 and #5 for all other main beams and cantankerous-tees. Click additional chief beams and cross tees together as needed. When connecting grid elements together, an aural click will be heard when properly connected.
8. Install Panels – Slide the tile through the grid opening at an angle. Carefully lower into place. Cut any border tiles or required openings with a utility knife with the panel face upward.
Installing 24" X 24" Driblet Ceiling Panels
Install 24" x 24" panels in the aforementioned manner equally 24" ten 48" panels, with the post-obit exceptions:
- In a 24" x 24" panel installation, the first principal beam can be the border panel size or border panel plus 24" from the wall.
- Install 4' cross tees perpendicular to the main beam, creating an even grid visual. 4' cross tees should be 24" apart on middle. At present install your 2' cantankerous tees parallel to the primary beams to create the 24" x 24" opening
Last Thoughts
Preparations help the drop ceiling installation process get faster and more smoothly. Accept your time and become set to be surprised by how handy you are. Also, be certain to check out videos, more than how-tos, and the full set of installation instructions below.
Tips & Tricks Videos
How to Tie Hanger Wire
How to Cut a Tegular (Stepped) Border
How to Install Wall Molding

Basement Drop Ceiling
Take your basement drib ceiling from drab to fab past swapping out those former 2' x four' panels for fresh 2' x ii'southward. Catch some cross tees, choose your new tiles, and go!

Mineral Fiber Suspended Ceiling
Suspended ceilings perform well in a variety of spaces. Learn everything you lot need to know near mineral fiber suspended ceiling tiles.
Light Commercial Ceiling Tiles
Lite commercial ceiling tiles offer superior performance and fresh looks for your small business, function, kitchen, and other commercial spaces.
Decorative Acoustic Panels
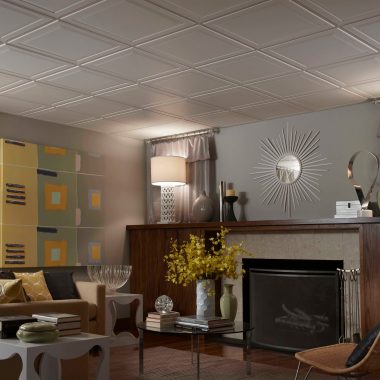
Decorative acoustic panels tin create a beautiful space AND reduce noise by up to 70%. Larn how acoustical panels can add style and racket control to your abode.

Completely Cover a Drop Ceiling
You just bought a house and inherited an former drop ceiling with it. Acquire how to completely cover a drop ceiling in as trivial as a weekend!
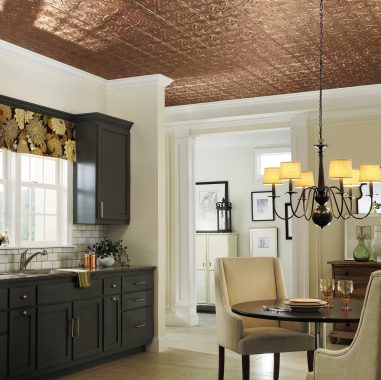
Metallaire Ceilings and Walls
Run into all of the Metallaire ceilings, walls, backsplashes, and accessories that tin add a shining twist to your infinite.
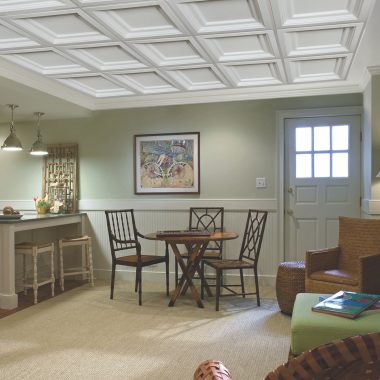
A Coffered Ceiling Guide
A coffered ceiling can bring drama or add subtle architectural detail to any room. Learn nearly your options, installation, design ideas, and more than.
Stylestix Ceiling Filigree Covers
StyleStix ceiling grid covers snap onto an existing grid to add a coffered look without redoing the entire ceiling. Learn more than.

PVC Ceiling Tiles
What you need to know about designing with plastic (PVC) ceiling tiles in a coffered look.
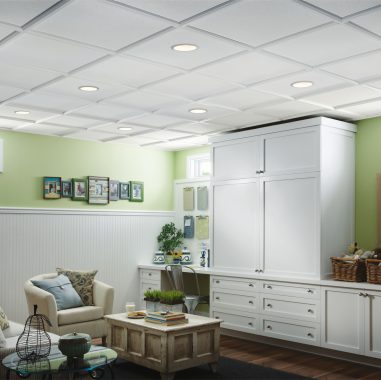
Acoustic Drop Ceiling Tiles
Audio-visual drop ceiling tiles from Armstrong Ceilings tin reduce noise by upwards to 70%. Acquire how a drib ceiling organization is a great way to add together value to your home.

Drop Ceiling Design Ideas
Create your ideal dwelling house with these drop ceiling ideas. Metal, coffers, and other decorative options are available.

Blackness Ceiling Tiles
Add a dramatic look to any room with black ceiling tiles. Platonic for spaces where you want to pack a decorative dial.
Thanks for visiting us!
Y'all currently are on the Armstrong Ceilings Residential website in U.s. (English).
For accurate production availability and information based on your location, please visit one of our other websites:
Source: https://www.armstrongceilings.com/residential/en-us/project-ideas-and-installation/drop-ceiling-installation.html
Posted by: stanleywheir1963.blogspot.com
0 Response to "What Nail Should I Use To Nail Tile Ceiling Up With Acoustical"
Post a Comment